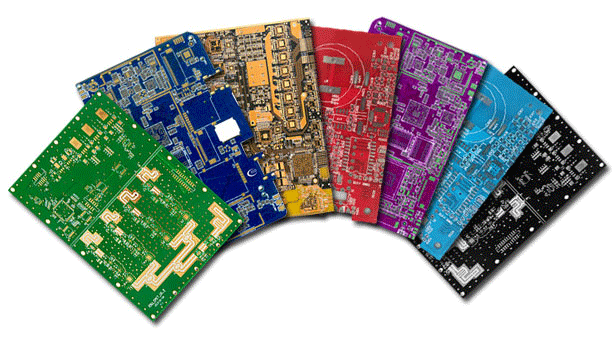
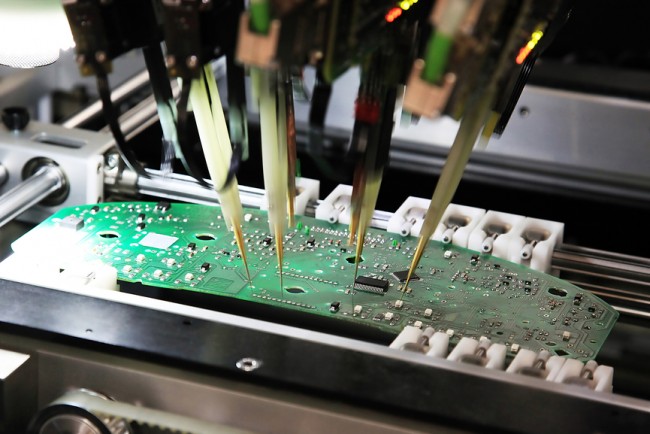
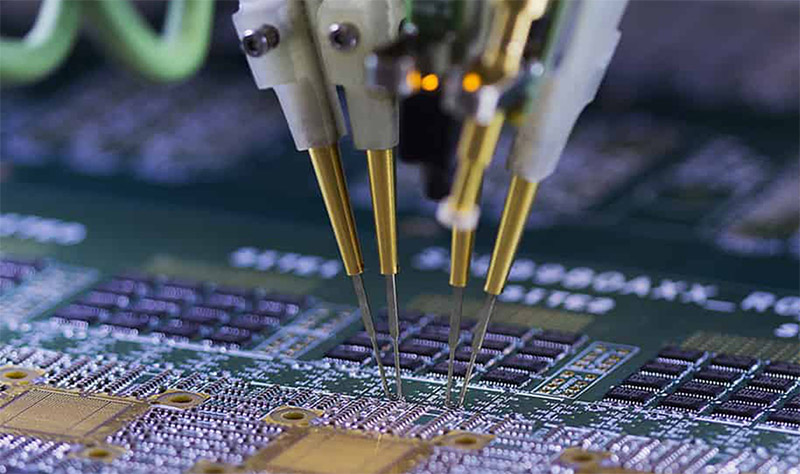
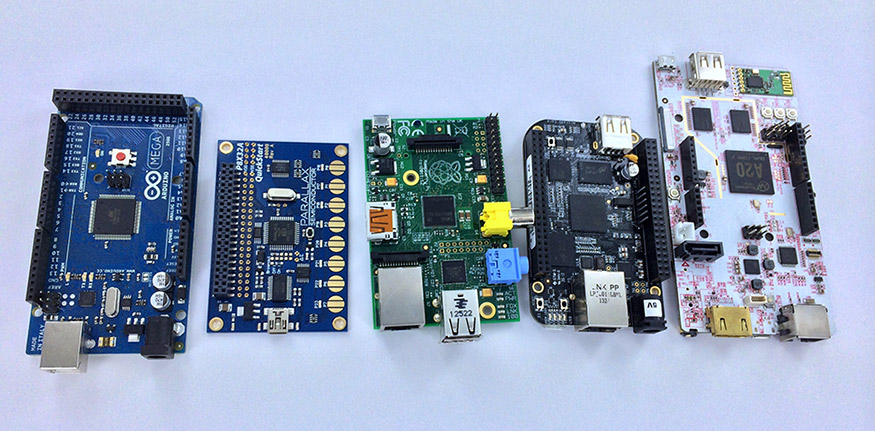
Test points are defined as the terminals in a PCB which allows users to transmit test signals to the PCB to test its functionality or to monitor the parameters in a PCB to verify its integrity. Simply put these test points can be anything from a Copper pad to Screws that will provide a way for user to insert the probe and test the functionality of the board without disrupting the PCB board. Test points in PCBs are widely used in industrial environments where they use automatic probing machines to test and verify the functionality of the board.
Why use test points in PCBs:
Consider this, you are designing a PCB board that should operate within specified parameters with intended functionality. Once your design is complete, the PCB boards should be manufactured in large volume and every board should be operational without exceptions. In the above scenario careful design is important and as a designer you have to ensure each board operates within parameters and performs the intended functions.
Using test points in your design will help you to test boards capability to operate within parameters in prototyping stage and even after the boards are being manufactured quickly and efficiently without disrupting the PCB board. These test points will help you to ensure all the boards are operational as specified.
Tips to add test points to your PCB design:
Now that we know the advantages of using test points in your design. Let’s take a look at few important tips that will help you to use test points in a better way.
- Place all the test points on one side of your PCB board
- Do not group the test points in a way that there will be a group of test points on end of the board and none on other ends. Distribute the test points throughout the board so that probing machines or the user will be able to test the board with ease.
- Some components in your PCB can be tall and this can intervene testing process when a test point is placed near to tall components. In order to overcome this avoid placing test points near tall components or group the tall components to one side of the board and maintain optimum distance from them when placing test points.
- Its often tempting to place test points after every component is placed and use the space that’s being left unused rather than dedicating space to test points. This can bring issues especially when your design fail to fall within manufacturer parameters or when components fall in the way of user or machine that prevents testing the board.
Hope this article gave you an idea about test points in PCB.

