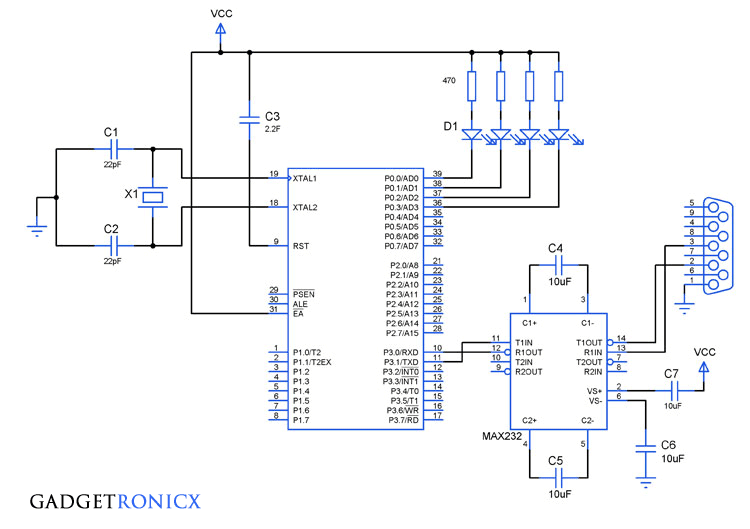
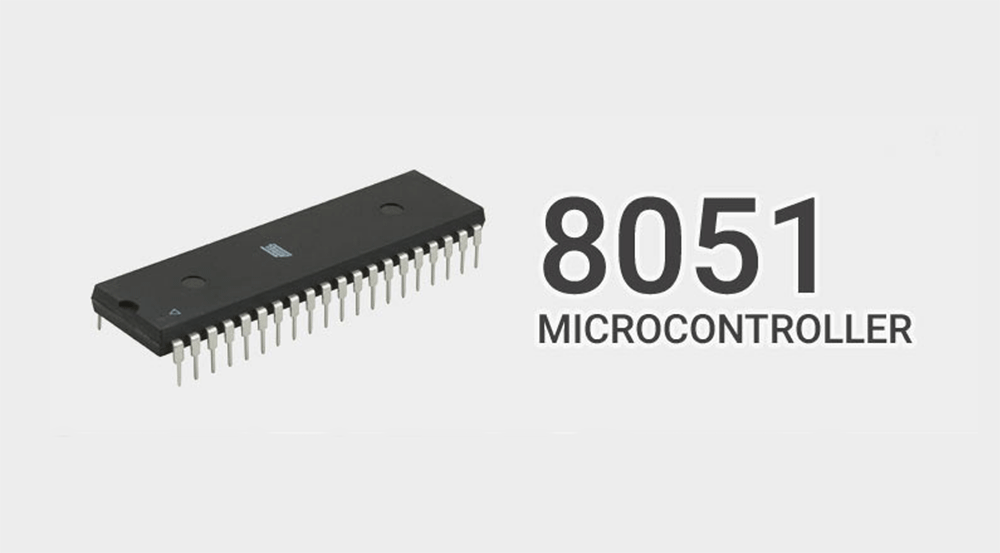
Serial interrupt programming in 8051 plays a significant role since it was used to perform interrupt operation through UART protocol. It plays a significant role in Embedded system Design where the controller has to perform a certain tasks based on the incoming character through the UART. Before going through this tutorial you must be familiar with Serial Communication in 8051 Microcontroller to get a clear idea about Serial Communication.
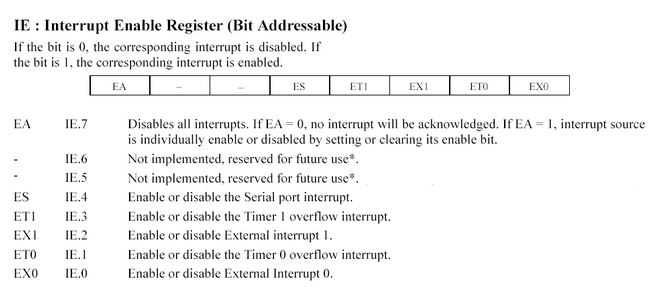
IE REGISTER:
STEPS TO PROGRAM SERIAL INTERRUPT:
- Initiate Timer to generate Baud rate for the Serial communication, and TH1 register should be loaded with the value 0xFD to generate baud rate of 9600 bps.
- Initiate SCON register to select the mode of serial communication, i have chosen Mode 1 since i have used timer 1 for Baud rate generation.
- Load the value 0x90 into the IE register to initiate the Serial interrupt.
- Write sub routine for the interrupt with the interrupt number 4.
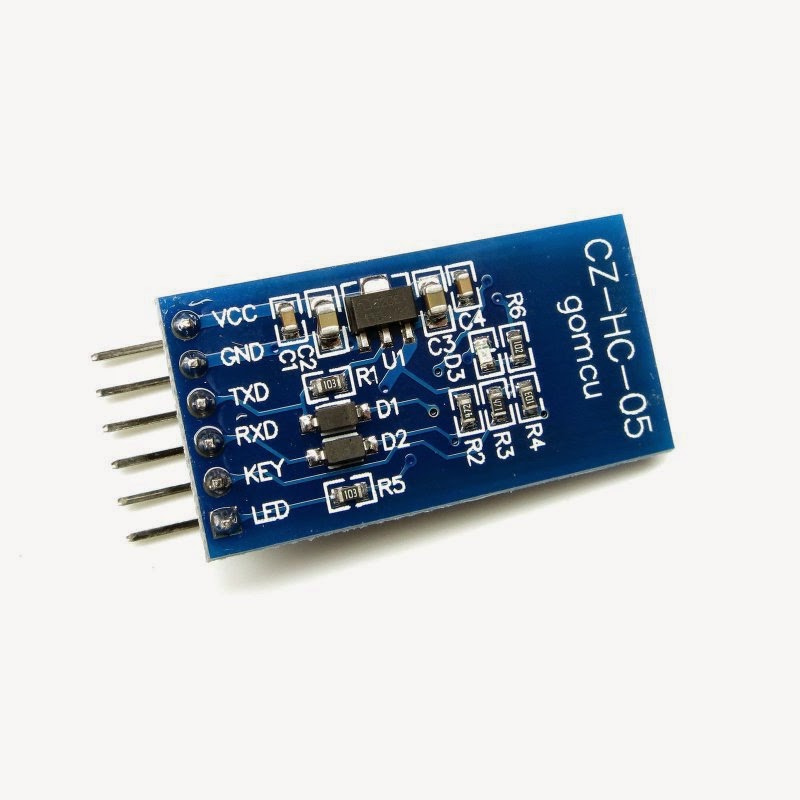
Usually every key you press in your hyper terminal reaches the controller as a Hex value. This will also allow you to place conditional statements inside the subroutine to make the controller to respond only to specific key press from the terminal rather than from all the keys.
CODE:
#include<regx51.h>
void main()
  {
   TMOD=0x20;                                //Choosing Timer mode
   TH1=0xFD;                                   //Selecting Baud Rate
   SCON=0x50;                               //Serial mode selection
   TR1=1;
   IE=0x90;                                      //Enabling Serial Interrupt
   while(1);
   }
void ser_intr(void)interrupt 4        //Subroutine for Interrupt
 {
  char c;
  c=SBUF;
  IE=0x00;                      //Turning off interrupt to prevent recursion
   if(c==0x0d)
   {
   P0=~P0;
   SBUF='A';                 //Sending back "ACK" as   Acknowledgement
   while(TI==0);
   TI=0;
   SBUF='C';
   while(TI==0);
   TI=0;
   SBUF='K';
    while(TI==0);
    TI=0;
    }
   RI=0;
   IE=0x90;                            //Reactivating the interrupt
  }
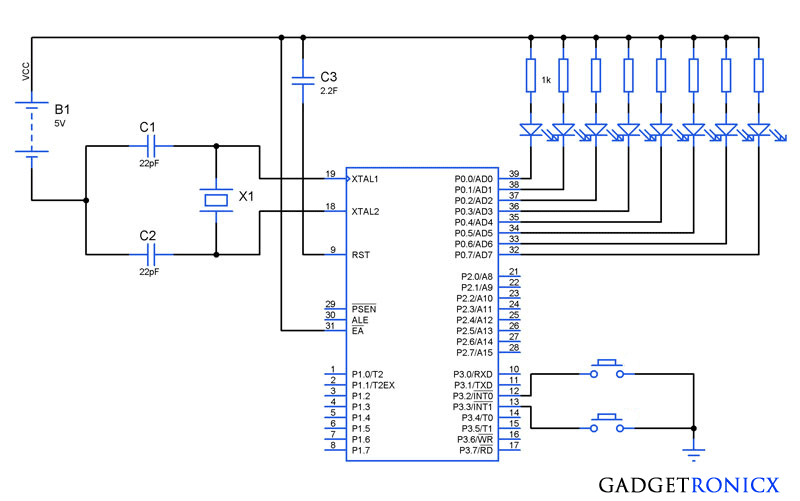
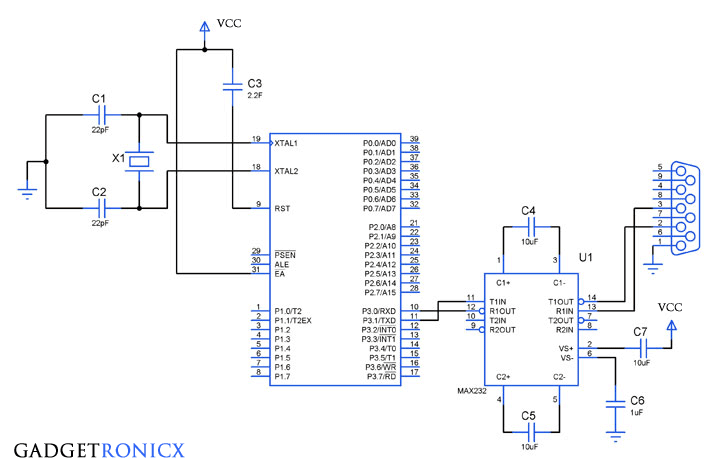
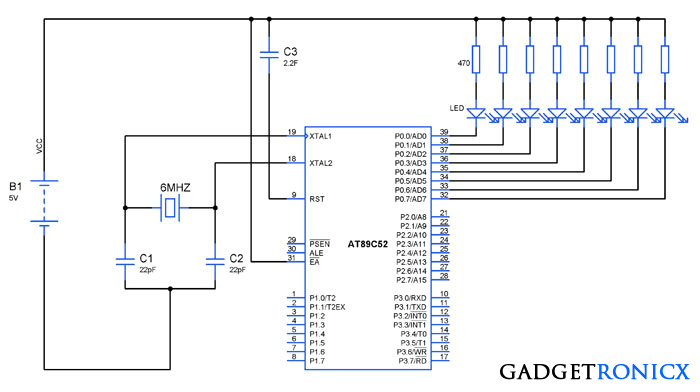
All the initialization of the Timers and Interrupts took place in the main() function of the program. In the subroutine “ser_intr” i have used a condition to check received variable from interrupt as “0x0D“. This “0x0D” is a equivalent of “Enter” key in the keyboard, so whenever you press enter the Microcontroller toggle the port 0 and Send ACK back to the terminal.
You can use condition for any key in the keyboard by identifying the HEX values of the respective keys in your keypad. This will help you to perform specific tasks with each key press.


you have given zero value to IE for the prvention of recursion , but how it’s going to call ISR further .., and what will be the effect- if i do not make IE=0x00..plz explain.
when i enter a character from keyboard code works ,but i cannot see it on the hyperterminal what i entered when using uart interrupts
Hi Raghav, You mean to say that character from Mcu is not displayed in Hyperterminal? If so kindly check the hardware connections of your MCU TX.
are we able to use the incoming character the one which causes the interrupt?
Of course you can, read the value like i did “c=SBUF” in the 14th line and then use it for any purpose.
Thanks great tutorial
Welcome.